gifts

small is beautiful holiday shopping guide

Small Is Beautiful holiday shopping guide

Hello and Happy December!

Also, how is it December!?!? How did the year go by so fast? But now that I think about it, it was kind of a shitty year (at least here in the US of A), so maybe I should be saying good riddance and seeyalaterbyeeee to 2018!

I can’t complain about too much at present since I’m writing this poolside in Palm Springs. (Because sunbreaks = mental health when you live in Seattle.)

I’ll be back in the Rain City in just over 6 hours though. My weekend plans involve chasing away the grey and perpetual drizzle with some serious holiday cheer. Greens will be foraged for one of these wreaths. Cookies will be baked. Cheesy Christmas music will be played. I might even test a batch of holiday punch. (Strictly in the name of research.)

If I’m feeling like Superwoman (which I might just be after 3 days of Palm Springs sunshine), I’ll start my holiday shopping.

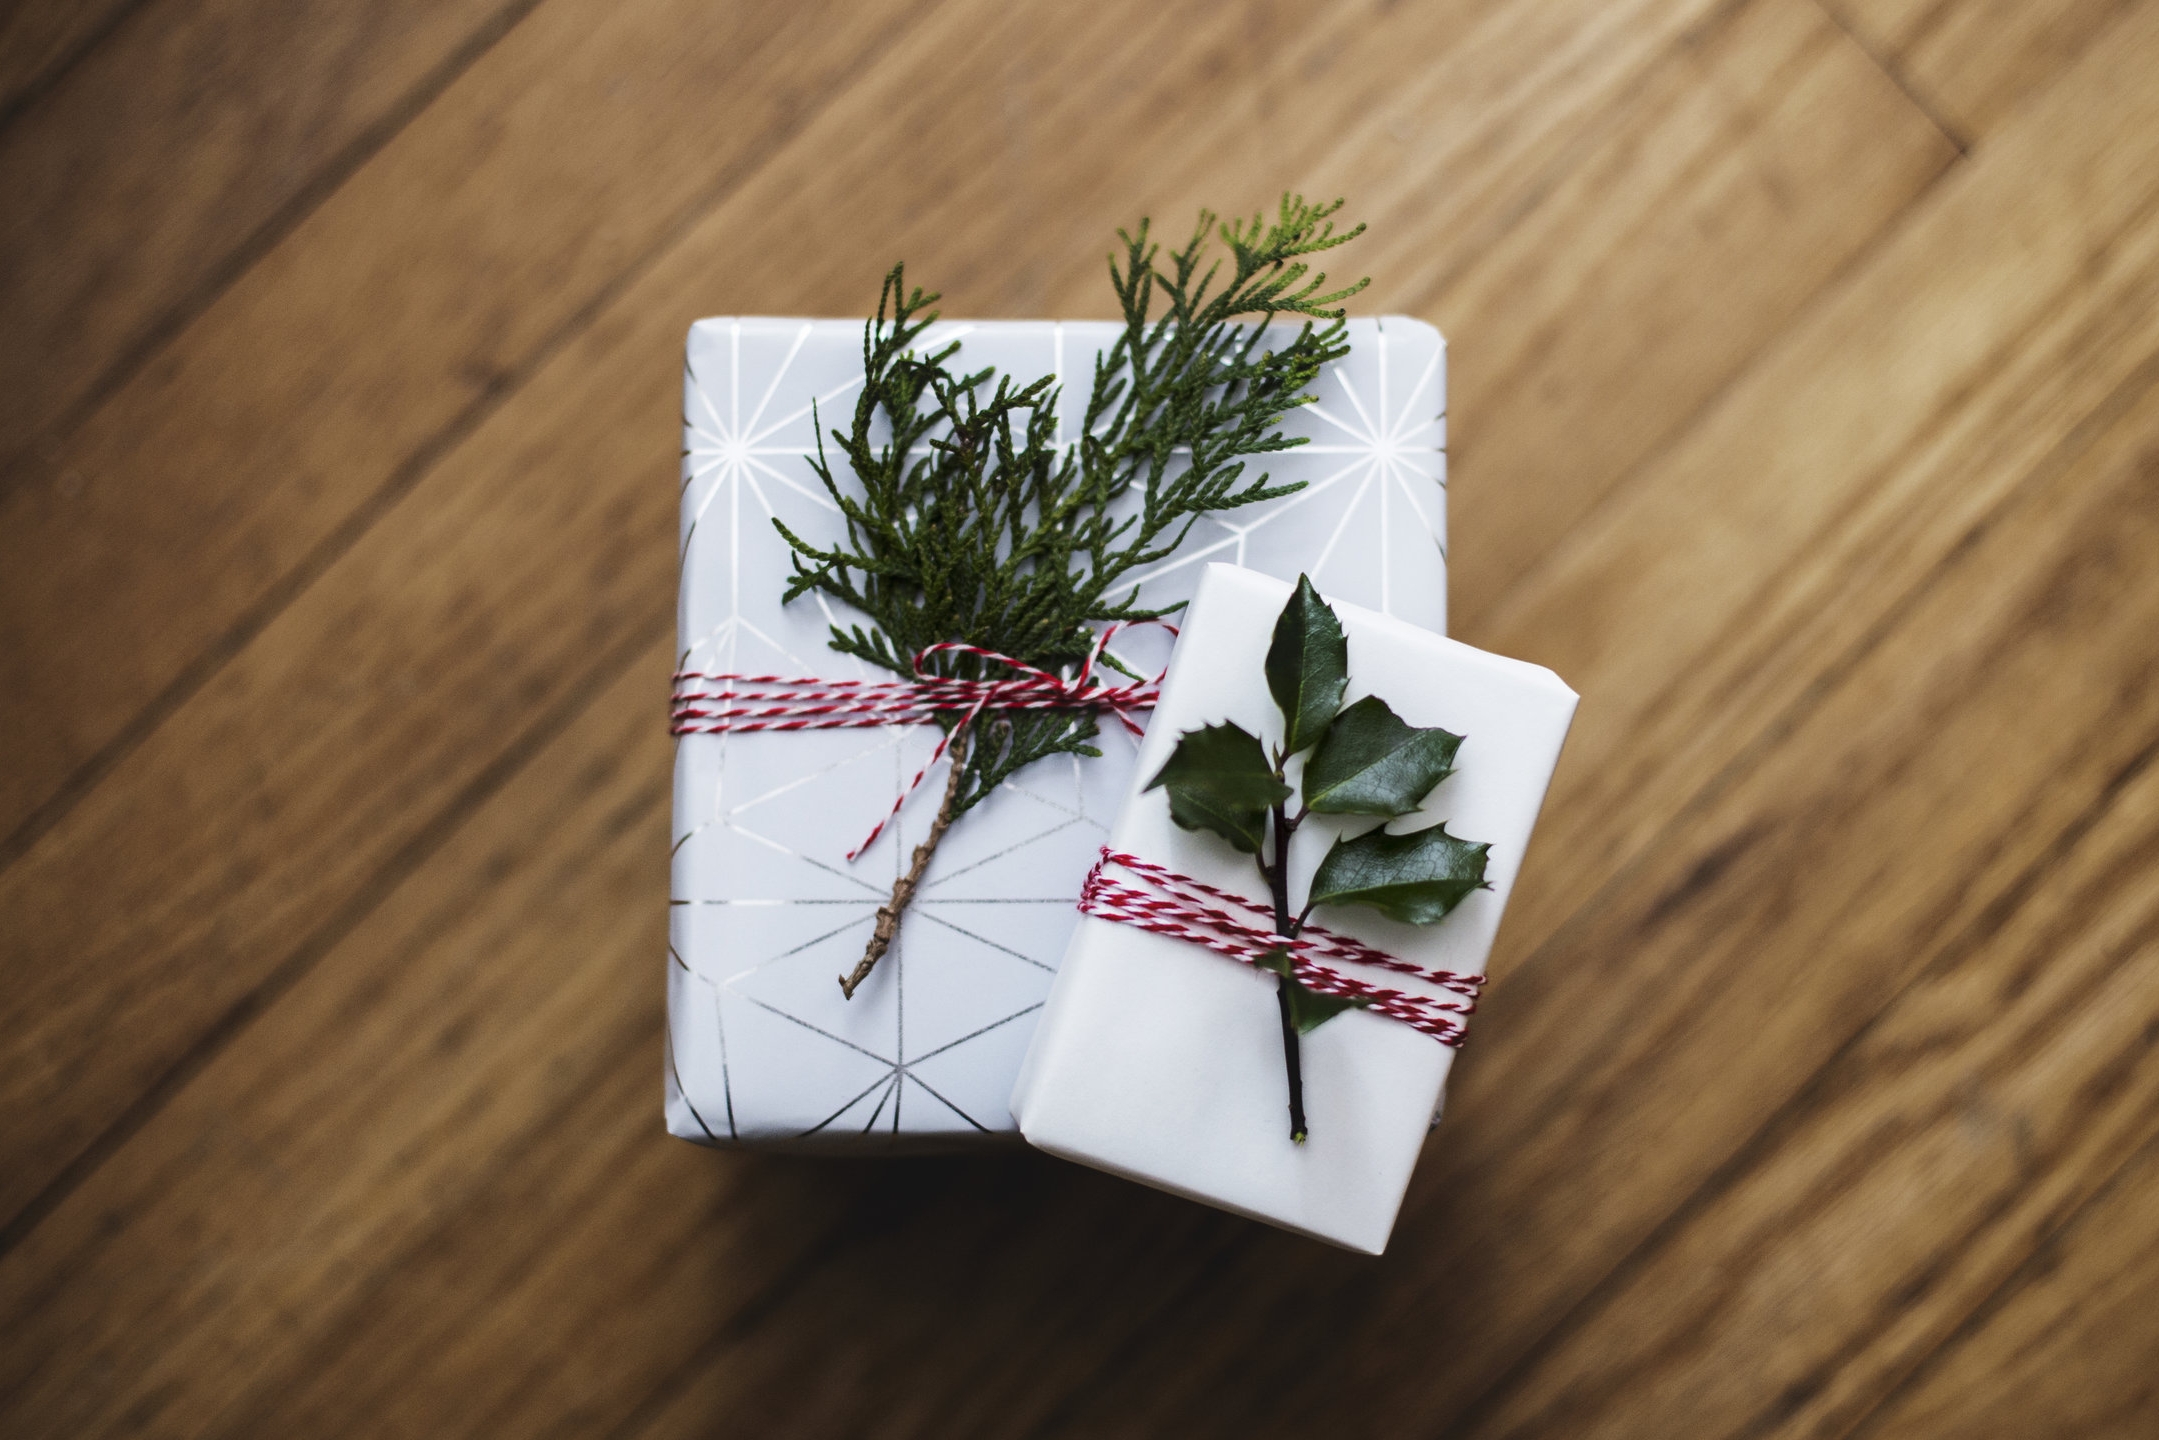
When it comes to gift giving, I’m a big fan of starting early to avoid last minute shopping trips and the crazed shoppers that come with them. The mall can start to look a lot like an MMA battle royale in the week before Christmas. Trust me, you’re much better off at home, wrapping packages with an egg nog in hand.

Because we’re also big fans of supporting independent businesses around here, I’ve put together this Small is Beautiful shopping guide to help you make sure your holiday dollars are supporting people working hard to provide beautiful, artisan crafted objects and create community.

At a time when big box stores are churning out disposable garbage at a distressing pace, owning an object meant to last and that (sometimes literally) bears the fingerprint of its maker, reminds us that things are still made by people. People with complex lives: loves and losses and joys and heartaches just like ours. It reminds us that their work and their stories actually mean something. Just like ours do.

By purchasing small-batch and artisan products curated with love by small businesses owners, we create a little thread of connection that benefits us all.

And shitty year or not, there’s nothing that brings the holiday cheer like making the world a little bit brighter place.


P.S. If you're looking to for an extra-special gift for that extra-special someone in your life (or even your own extra-special self), registration just opened for our May 2019 retreat in Alentejo, Portugal!

Small Is Beautiful holiday shopping guide
small is beautiful holiday shopping guide

toasted buckwheat granola with tahini and dark chocolate

Buckwheat Granola with Tahini and Dark Chocolate // Image: Olaiya Land

Hello people!

Today’s the day! It's the final post in the holiday blognanza I put together for you with Megan from Cream + Honey! In case you missed them, you can check out our previous posts here:

Every year, I like to share an easy last-minute edible holiday gift recipe with you. This year, I’ve got this Buckwheat Granola with Tahini and Dark Chocolate. This one goes out to all the procrastinators among us (including myself) who are scrambling for a last-minute homemade gift idea. And to all you overachievers who want to spread a little extra holiday cheer! Whichever camp you fall into, you most definitely need to make this granola.

Buckwheat Granola with Tahini and Dark Chocolate // Image: Olaiya Land

In an effort to switch things up this year, I dialed back the oats in my go-to granola formula and decided to throw in a generous amount of lightly toasted buckwheat groats. This turned out to be a pretty good move on my part (thank you Alison Roman for the inspiration) because the buckwheat lent an earthy complexity to this granola and made it extra crunchy and sog-proof. 

I hate getting hungry halfway through my morning, so to make this more filling, I added protein-packed quinoa to the mix. I’ve got hazelnuts in there too because, duh, I AM OBSESSED WITH HAZELNUTS. (I might lay off the hazelnuts in the new year. Can’t make any promises though…). 

Lastly, I’ll admit that the super sexy tahini + dark chocolate combo could be considered showboating (mostly by people who eat bran flakes for breakfast). In my defense, however, it elevates this way beyond your basic bulk-bin affair and turns it into the sort of granola your brunch guests will ooh! and ah! about and your children will fight over. (Don’t blame me, blame the chocolate.)

Buckwheat Granola with Tahini and Dark Chocolate // Image: Olaiya Land

This takes about 15 minutes of active time plus 50 minutes in the oven, which gives you just enough time to whip up a batch of Megan’s Amaro Sprtiz Punch and kick the holiday weekend off in boozy style!

I myself will most likely be subsisting on handfuls of this granola over the next 48 hours as I attempt to distribute the last of my holiday baked goods, prep the house for our AirBnB guests (so nerve racking!) and pack my bags for Paris.

Buckwheat Granola with Tahini and Dark Chocolate // Image: Olaiya Land

I’m not sure if I’ll have time to post before the new year, so I’ll take this opportunity to tell you how immensely grateful I am to all of you who joined my workshops, followed my adventures on Instagram and stopped by to read this blog. Thank you, thank you, THANK YOU! Your kindness and support over the past year mean so much to me. 

I wish you a beautiful, restful and delicious holiday and I can’t wait to see you in 2018!

XOXO!

Olaiya


Toasted Buckwheat Granola with Tahini and Dark Chocolate

  • ¼ cup sugar
  • ½ vanilla bean
  • 2 cups raw buckwheat groats
  • 3 cups rolled oats (not instant)
  • 1 cup raw hulled sesame seeds
  • 1 cup raw hazelnuts, roughly chopped
  • ½ cup uncooked quinoa
  • 1 teaspoon ground cardamom
  • 1 teaspoon coarse salt
  • ¼ cup avocado oil, refined coconut oil (or other neutral-tasting oil)
  • ¼ cup extra-virgin olive oil
  • 2 tablespoons maple syrup
  • ¼ cup rice bran syrup or agave
  • 6 tablespoons tahini
  • 1 cup (4 oz) shaved dark chocolate (I used Callebaut 60%)

*Note: There are two kinds of buckwheat groats--raw (or lightly toasted) and darkly toasted (also known as kasha). For this recipe you want raw or lightly toasted buckwheat groats since they're going in the oven for quite a while. These will be green or light brown and shouldn't have much of a scent to them. It's pretty easy to distinguish from kasha which is dark brown or reddish brown and has a nutty, toasted smell to it. If you can't find raw buckwheat groats where you live, feel free to substitute more oats or a mix of other dry ingredients like flax seeds, raw sunflower seeds, spelt flakes, etc.


Buckwheat Granola with Tahini and Dark Chocolate // Image: Olaiya Land

Preheat your oven to 300° F.

Place the sugar in a small bowl. Using a paring knife, split the vanilla bean lengthwise and use the sharp edge of the knife to scrape the seeds from the pod. Add the seeds to the sugar and use your fingers to rub the vanilla into the sugar, breaking up any clumps. Place the buckwheat, oats, sesame seeds, hazelnuts, quinoa, cardamom and salt in a large bowl. Add the vanilla sugar and stir to combine thoroughly.

Combine the oils, syrups and tahini in a medium bowl and whisk well to combine. Pour the wet ingredients over the dry ingredients and stir until all the dry ingredients are completely coated.

Divide the granola between two parchment-lined sheet pans. Spread the granola out and place the pans in the oven. Bake for 50-60 minutes, rotating the pans and stirring the granola every 15 minutes or so. You want to remove the granola from the oven when it's golden brown. Don't worry if it's not completely dry; it will crisp up as it sits. Place the sheet pans on wire racks to cool. When the granola is completely cool, stir in the shaved chocolate. 

Transfer the granola to an airtight container (I like a big mason jar) and store in a cool dry place. Tightly covered, the granola will keep for several weeks.

Buckwheat Granola with Tahini and Dark Chocolate // Image: Olaiya Land

seeded toffee bark

seeded toffee bark on Millys-Kitchen.com

Hello, lovely people!

Despite my careful planning, I have about a gazillion things to do before we leave town for the holidays. (How does that always happen?) But I wanted to leave you with one more homemade holiday gift idea before I jump on my plane!

seeded toffee bark on Millys-Kitchen.com

If you read last year’s holiday post, you know I’m a huge fan of giving chocolate bark. It’s easy, beautiful and can be topped with almost anything you have floating around in your cupboards: chopped peppermints, nuts, dried fruit, cereal, candied citrus zest, crushed cookies. You name it.

This year’s bark is a little more involved since it calls for a base of buttery toffee. Don’t be daunted though--it’s not hard at all as long as you have a heavy-bottomed pot and a good thermometer. If you want to get fancy, you can temper the chocolate. Or not. The good news is you top this bark with so many crunchy toasted seeds, it's pretty hard to tell if the chocolate is tempered or not. (Win!)

seeded toffee bark on Millys-Kitchen.com

I’ll be writing to you next from the other side of the Atlantic. Until then, I wish you all a Merry and Bright Holiday!

XO,

Olaiya


Seeded Toffe Bark

  • Vegetable oil or butter for the pan
  • ½ cup (1 stick) unsalted butter
  • ¾ cup granulated sugar
  • ½ cup (packed) light brown sugar
  • ½ teaspoon kosher salt
  • 1 teaspoon vanilla extract
  • ¼ teaspoon baking soda
  • 5 oz. bittersweet chocolate (I like 72% Guittard Onyx wafers)
  • ½ cup pepitas (raw hulled pumpkin seeds)
  • 1 ½ tablespoons white sesame seeds
  • 1 ½ tablespoons black sesame seeds
  • 2 tablespoons cacao nibs
  • ½ teaspoon flaky sea salt (I like Maldon)
  • Special Equipment: Instant-read thermometer

*Note: Tempering the chocolate keeps it shiny and gives it a nice snap when you break it. If you decide to temper, the method described below (based on Alice Medrich’s technique) is the easiest I’ve found. A good thermometer makes tempering (and all candy-making) a lot easier. Lots of people use a classic candy thermometer, but I prefer something like this because it's more versatile. If price is not an issue, I think this Thermapen is the best thermometer you can buy.

seeded toffee bark on Millys-Kitchen.com

Brush a large rimmed sheet pan very lightly with oil or rub very lightly with butter. Combine the ½ cup butter, granulated and brown sugars, kosher salt, and 2 tablespoons of water in a large heavy saucepan fitted with a thermometer. Cook over medium-high heat, swirling the pan occasionally, until the thermometer registers 300° (the toffee should be a deep golden brown), 7–9 minutes.

Remove the toffee from heat and carefully stir in the vanilla extract. Sprinkle the baking soda evenly over the toffee and stir just until incorporated (be careful not to overmix). Quickly scrape the mixture onto the prepared sheet pan and tilt from side to side to spread mixture slightly. Do not touch the underside of the pan as it will be very hot. Set aside to cool for at least 10 minutes. Wash and dry the thermometer.

In a small, dry frying pan over medium-low heat, gently toast the pepitas just until fragrant and beginning to pop and brown, about 3 to 5 minutes. Transfer to a small plate and set aside to cool. If your  white sesame seeds are raw, add them to the same pan and toast until light golden brown, 3-5 minutes. Transfer to a small plate and set aside to cool. 

When your toffee is completely cool, prepare your chocolate. Roughly chop 4 oz. of the chocolate. Leave 1 oz. in large pieces and set aside. Fill a small saucepan with 1 inch of water and heat over medium until just under the simmer. Reduce the heat to low or medium-low to keep the water just under a simmer. Place the 4 oz. of roughly chopped chocolate in a medium stainless steel mixing bowl and set over the warm water. Use a flexible spatula to stir until ¾ of the chocolate has melted. Remove from the heat and continue to stir until all of the chocolate has melted, 1-2 minutes. If all the chocolate has not melted, place the bowl briefly over the warm water and stir. 

Use the instant-read thermometer to take the temperature of the chocolate. If it is over 100°F, let it cool to about 100°F. Add the reserved 1 oz. large pieces of chocolate and stir until the temperature reaches 90°F. 

Test to see if the chocolate is tempered by drizzling a little on the blade of a knife and setting aside in a cool place. If the drizzle starts to set within 3 minutes, without streaks or mottling, it is tempered and ready to use. If it still looks wet after 3 minutes, stir the chocolate and chunks for a few minutes more and test again. When the chocolate is tempered, remove the unmelted chunks and set aside for later use.

Pour the melted chocolate over the toffee and spread evenly with an offset or flexible spatula. Scatter the seeds and cacao nibs over the top, then sprinkle with the salt. Set aside until the chocolate is firm, at least 2 hours. 

Lift the bark from the sheet pan with a thin metal spatula then break into large shards.

Makes 2 dozen 2- to 3-inch pieces.

Adapted from Bon Appetit

seeded toffee bark on Millys-Kitchen.com