peach

peach-plum buckle

Image & styling: Olaiya Land

I’m celebrating!

I baked this cake in honor of the fact that I am officially done with diets. Hopefully forever.

As I wrote here I have tried pretty much every form of controlling my body known to (wo)man. Starting with disordered eating in my teens all the way through the latest vegan, paleo and keto crazes.

We’re talking ALLLLLLLL the diets. And the un-diets. And the cleanses. And the “lifestyle overhauls”. Always seeking to be thinner. Smaller. To take up less space.

But I am done with that.

Image & styling: Olaiya Land

I am done feeling ashamed that I’m not a size 4. I’m done feeling like a failure because I don’t fit the beauty standard laid out by the diet industry. And fashion magazines. And mainstream advertising. I am done waging war on a body that keeps me healthy and strong. That allows me to experience the joy of playing tennis and lifting weights and hiking in the forest. I’m ready to start treating my body like the miraculous gift that it is.

Oddly, Instagram is largely to thank for this new-found liberation. I’ve started following fitness bloggers who value strength and self-acceptance over thinness. (Whassup @shethrivesblog and @anniemiller.co!) And brands that use models of all shapes, sizes, colors and ages. (Hello @chromat and @universalstandard!) And plus size models who show me that you can be sexy and self-confident at any size. (Yes @jenniferatilemile and @jessicavanderleahy!) And anti-diet crusaders who have made me rethink my attitudes toward how I feed and care for myself. (Thank you @susanhyatt and @thefuckitdiet!)

Following all these women who choose to celebrate the female body in all its amazing forms has helped me realize I don’t need to change a single thing about my beautiful body.

And neither do you.

Image & styling: Olaiya Land

I know that if you are currently feeling the body shame I felt for years, this message is going to sound like a pile of blissed-out bullshit. I have been there. I mean let’s be honest: I’ve lived there for most of my life.

But something has shifted in me lately. Maybe because I’ve gotten older and a little bit wiser. Maybe because I’ve been spending a lot of time in Europe where I feel more balanced and at ease with myself. Who knows. I’ll take it however it comes.

If some part of you thinks you might want to make peace with your body, I highly recommend you check out the bloggers and Instagrammers I linked to above. Taylor Gage and Caroline Dooner have been especially valuable to me on my path towards greater self-love and acceptance.

And wherever you’re at on the path towards loving and cherishing yourself, celebrating yourself with a cake is never a bad move.
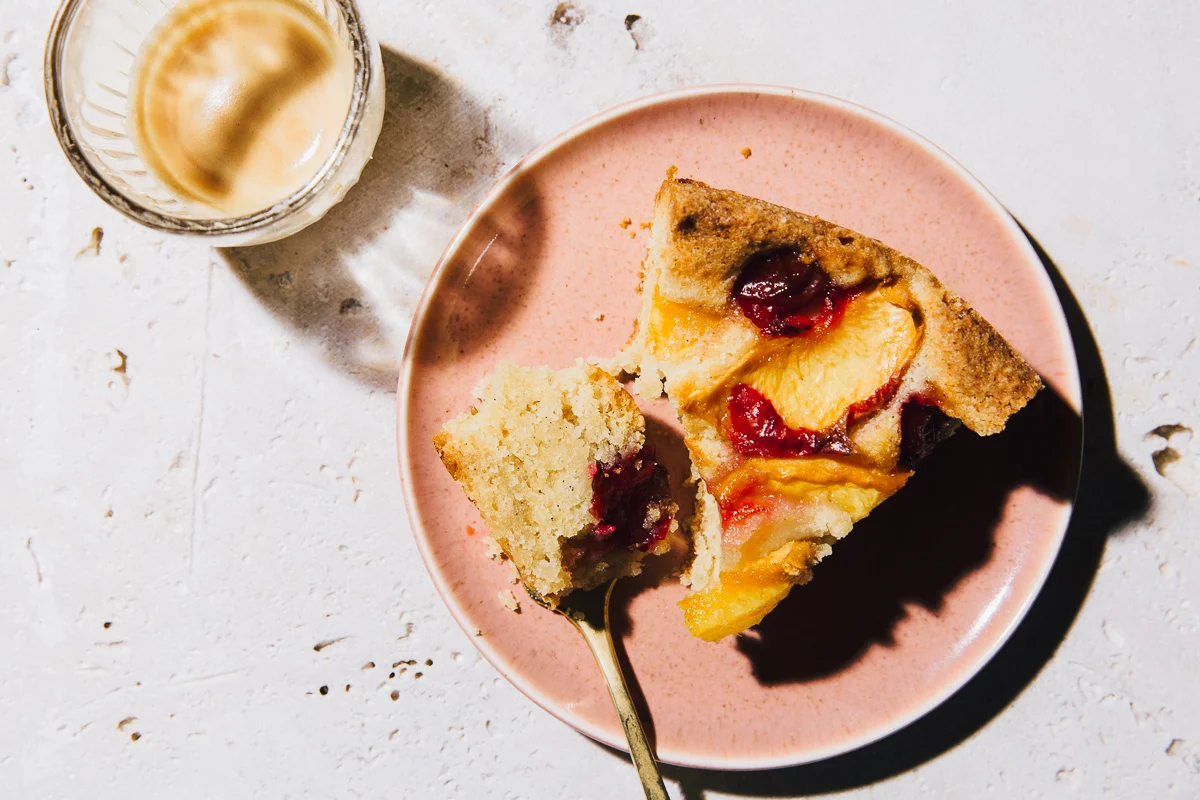
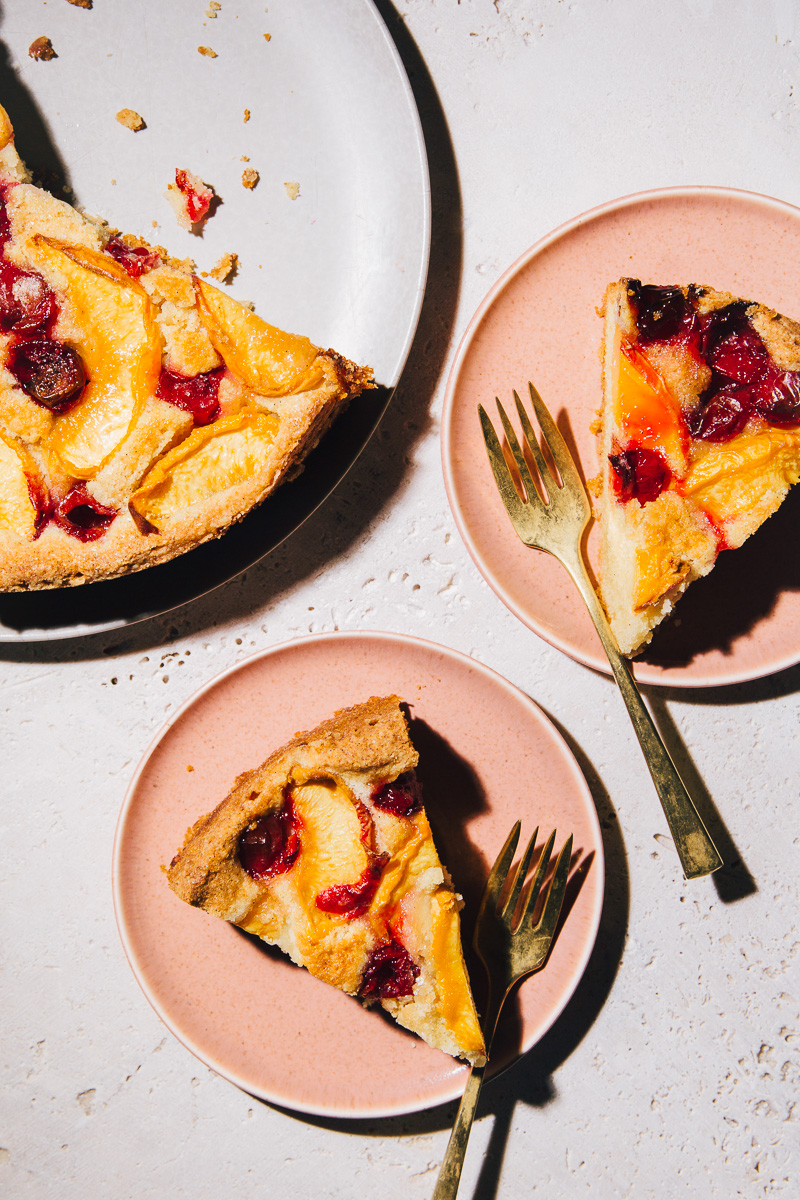

Peach Plum Buckle

  • 225g (2 sticks) unsalted butter, room temperature, plus extra for the pan
  • 250g (1 cup plus 4 tablespoons) sugar, divided
  • 1/2 vanilla bean
  • 215g (1 1/2 cups) all-purpose flour
  • 70g (3/4 cup) almond flour
  • 1 teaspoon baking powder
  • 1/4 teaspoon fine sea salt
  • 2 large eggs
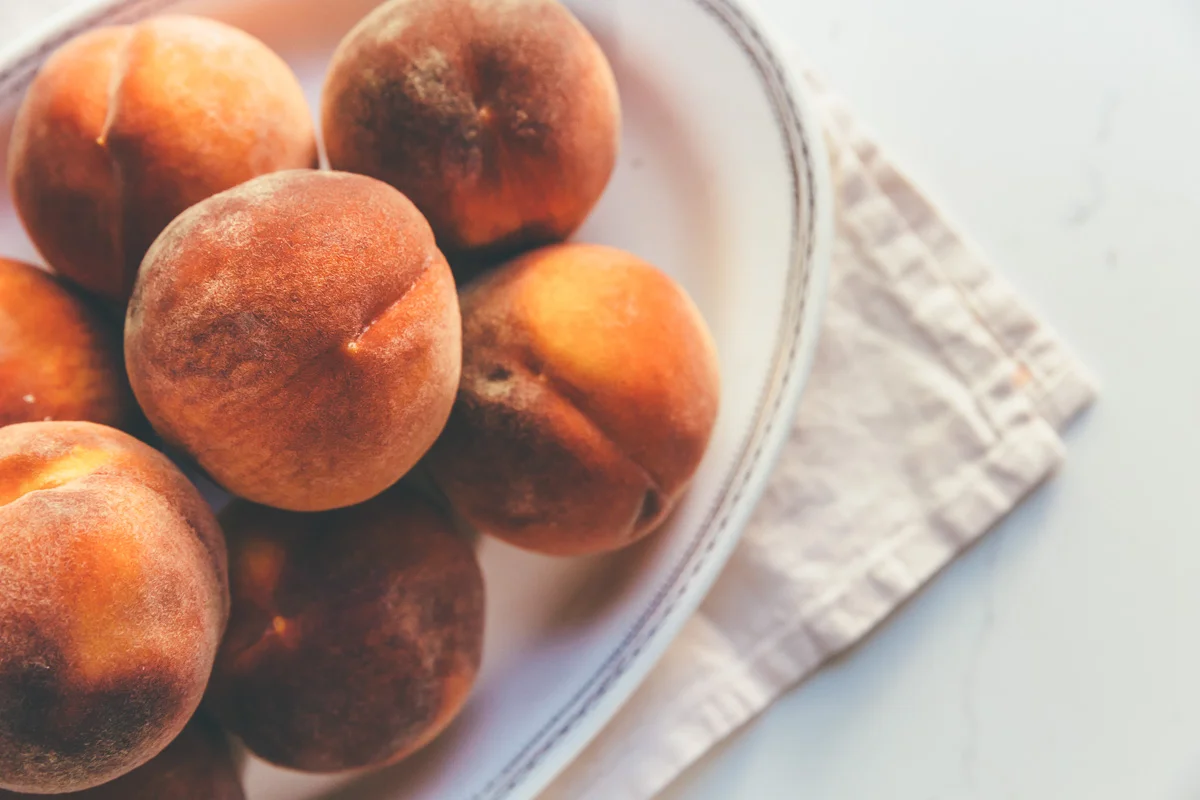
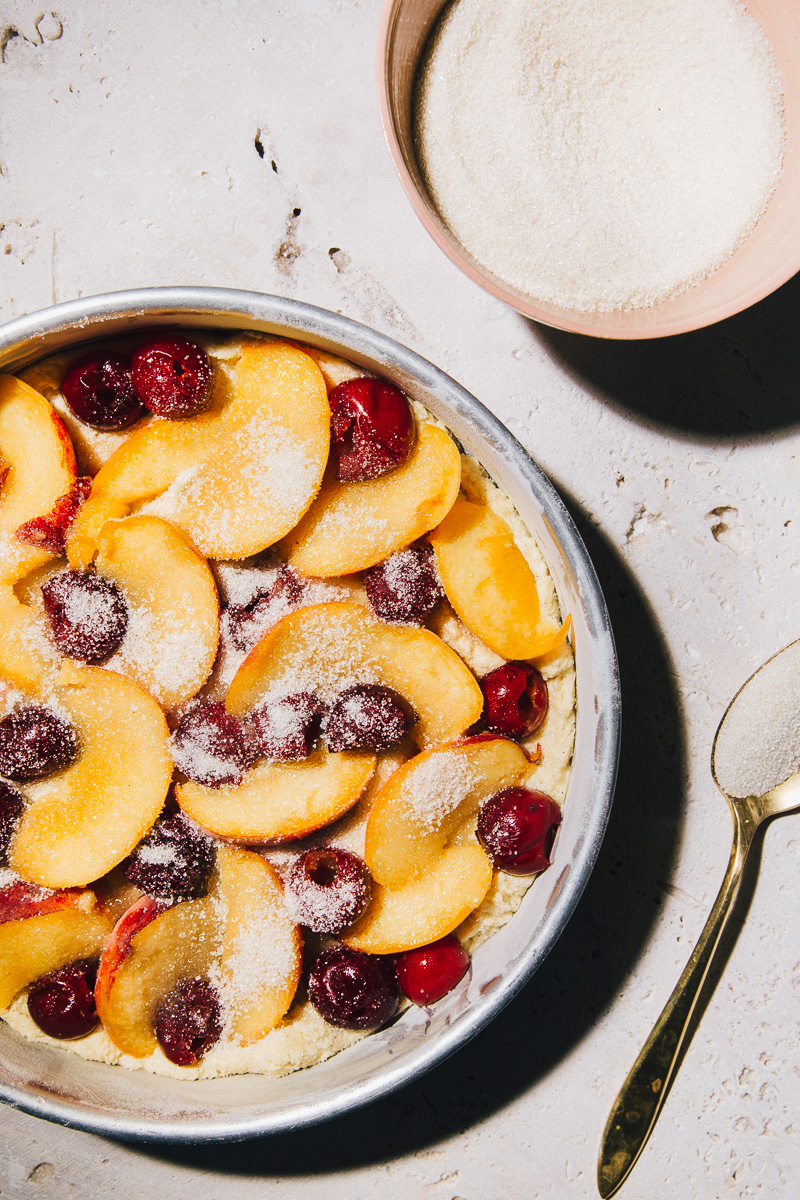
  • 2 firm-ripe peaches, sliced 1/2-inch thick
  • 225g (8 oz.) plums, pitted and halved (if small) or sliced cut into 1/2-inch-thick slices (if larger)

*Notes: I love, love, love this cake! I've been making versions of this one since way back in 2006. I almost never make recipes twice. So I guarantee you it's a good one!

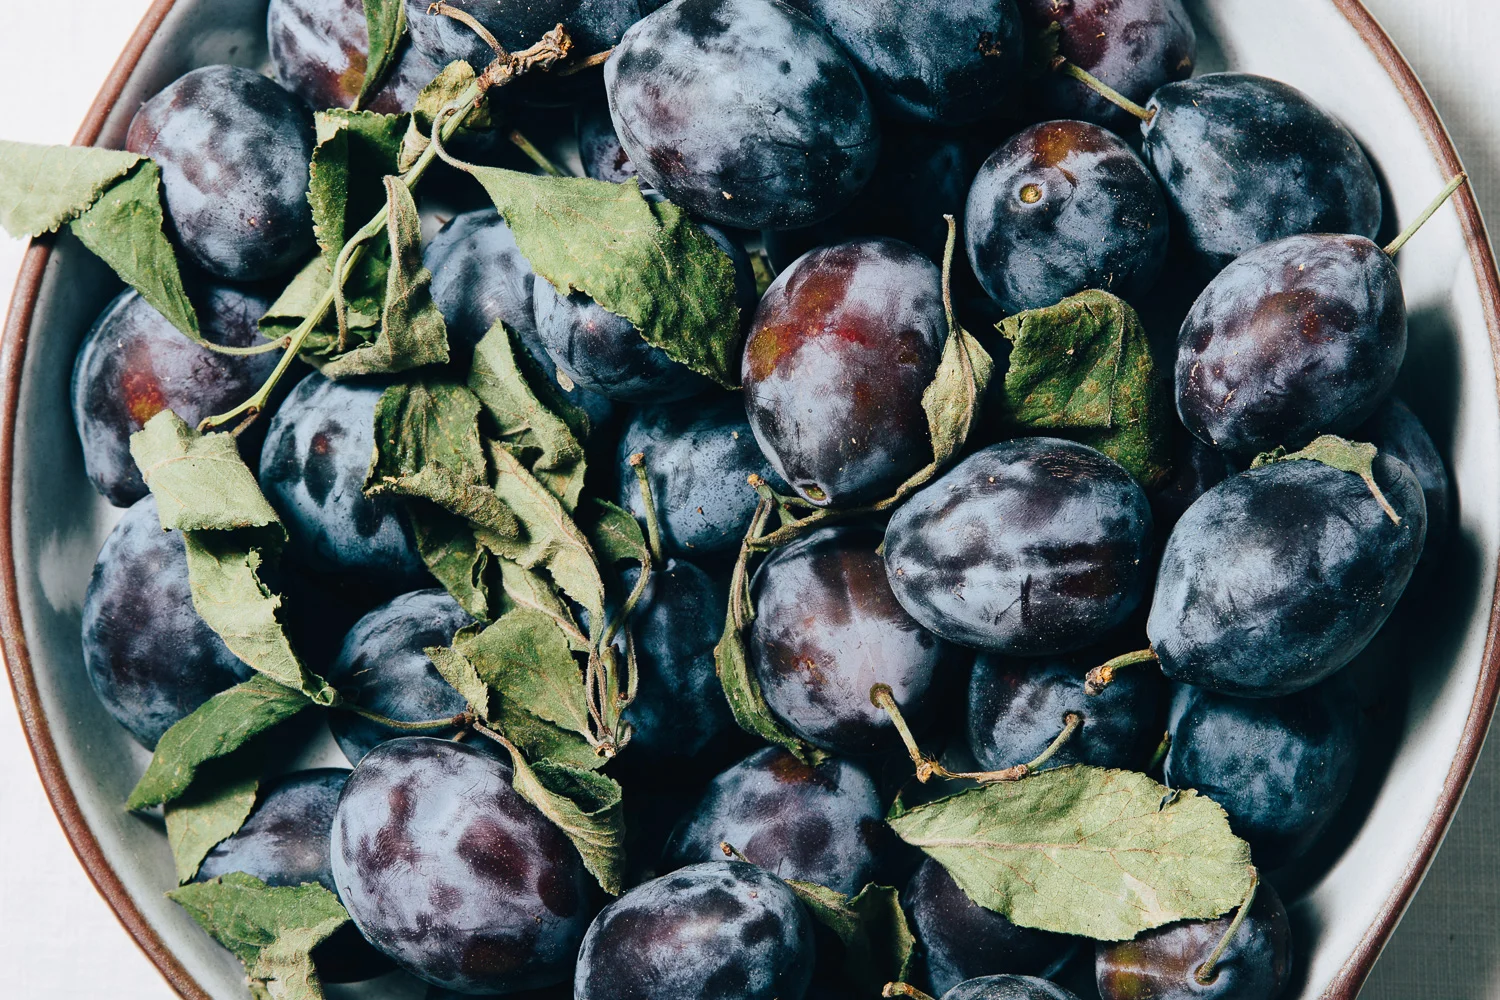
- I made this version with cherry plums because we have a cherry plum tree in our front yard. I had never heard of cherry plums until we moved into this house so I don’t think they’re particularly common. I’ve made this with tons of different kinds of plums though and it’s always delicious.

- You can use any variety of stone fruit you like: peaches, nectarines, apricots, plums, cherries, sour cherries (mix these with a little extra sugar if you go that route). Whatever.

- This cake magically gets better and better as it sits. I leave mine covered with a tea towel on the counter and on days 2 and 3 it is PHENOMENAL. (Did I mention I love this cake?)

Image & styling: Olaiya Land

Position a rack in the center of your oven and preheat it to 350°F. Butter a 9-inch cake pan and line the bottom with a round of parchment. Butter the parchment. Then flour the pan, tapping out the excess flour.

Cut the vanilla bean in half and scrape out the seeds with a paring knife. In a small bowl rub the vanilla seeds into 1 cup of the sugar until they are well distributed. Set aside.

In a medium bowl, whisk the flour, almond flour, baking powder and salt to remove any lumps. Using a stand mixer, beat the butter until fluffy. Add the cup of vanilla sugar. Beat until well blended. Add the eggs 1 at a time, beating well after each addition. On low speed, add the flour mixture and mix until just incorporated.

Transfer the batter to your pan (it will be VERY thick). Spread the batter evenly in the pan then arrange the fruit over the batter, pressing it down slightly.

Bake the cake until a tester inserted in the center comes out clean, 80-90 minutes. Cool the cake in the pan on a rack for 20 minutes. Run a small knife between the cake and the pan to loosen it. Then turn the cake out onto a large plate. Remove the parchment paper. Place another large plate or serving platter on top of the cake. Using both hands, hold both plates firmly together and flip the cake again, plum side up. Cool completely before serving.

Makes 8-10 servings

Adapted from Bon Appetit

Image & styling: Olaiya Land

peach-raspberry pie

peach-raspberry pie on millys-kitchen.com

At 6:42 Monday evening I could be found standing on my (somewhat precarious) kitchen table in my pajamas photographing a slice of pie. This slice, to be precise:

peach-raspberry pie on millys-kitchen.com

The past weeks have been a bit frenzied around here and so I had decided to forgo my usual routine of putting on real clothing, applying makeup and perhaps even showering that day. (Who can keep track of such details?) Which is why, frizzy-haired and bra-less, I hesitated for a long moment before answering the door when I heard a knock. 

I poked my head cautiously around the door to find...our neighbor Lindsay. She and her boyfriend had just returned from Vashon Island with an abundance of oysters. And did we want to come over and have some? 

peach-raspberry pie on millys-kitchen.com

Every fiber of my un-scrubbed being wanted to say no. The light was changing quickly and I needed to shoot this pie for the blog. Beau was off running errands so I’d be on my own making small talk with neighbors I don’t know very well (an introvert’s nightmare). I’d be forced to emerge from my state of unkempt comfort and make myself presentable to the world. 

But a tiny piece of me thought: Why not? You’re tired of working anyway. Plus, oysters! I told Lindsay I’d finish up my shoot and be right over. 

peach-raspberry pie on millys-kitchen.com

I’m not sure if it’s because we’re having a heatwave. (Yes, temperatures above 80°F constitute a heatwave in Seattle. Don’t laugh.) Or because I’ve logged a lot of hours on various projects in the past weeks. Or because I figured our neighbors’ kitchen window looks right into our house and so they’re probably going to see me in my pyjamas many, many times in the coming years. But I decided I couldn’t be bothered to change out of my PJs for a trip across the lawn. I did, however, wrangle a little of the frizz out of my curls and put on a bra. I slid on a pair of flip-flops for good measure and headed out the door. 

peach-raspberry pie on millys-kitchen.com

Sitting on Mark and Lindsay’s front porch slurping briny oysters out of their shells turned out to be the most relaxing, carefree evening I’ve spent in ages. Beau showed up at some point. Mark poured us several glasses of a beautiful rosé. We learned about our neighbors’ jobs and hobbies and favorite restaurants in town. We discovered that Mark assembled a traditional Italian pizza oven at his family’s house on Vashon that we might one day be able to help put to good use. They informed us that we definitely shouldn’t miss the upcoming block party in our street. And that there are so many fruit trees in our neighborhood because it was once an orchard. 

peach-raspberry pie on millys-kitchen.com

The next day, I took over a couple slices of pie to thank Mark and Lindsay for their hospitality. I would have baked this pie regardless, because it’s summer and summer = pie. But after I dropped it off, I felt extremely grateful to be living in a neighborhood that’s as diverse and neighborly as ours. On our multicultural street, people know each other. We wave when walking past or stop to chat about each other’s gardens. We share oysters and pie. In the midst of all the hate and violence that have monopolized headlines in the past months, this feels like a small miracle. And a huge comfort. 

I’m happier than ever that we managed to find our way into a sense of community here on Findlay Street. And that I’ve got so many pies to bake in the summers to come.

peach-raspberry pie on millys-kitchen.com

Peach-Raspberry Pie

  • 1 recipe flaky pie dough (see below)
  • 3 lbs firm-ripe peaches (about 6 large)
  • 2 teaspoons fresh lemon juice, or to taste
  • 2 ½ tablespoons cornstarch, divided
  • 9 tablespoons sugar, divided
  • ½ teaspoon ground ginger
  • Pinch salt
  • 8 oz raspberries (about 2 cups)

Flaky Pie Dough

  • 1 lb + 2 oz (4 cups) all-purpose flour

  • 2 tablespoons sugar

  • 1 1/2 teaspoons kosher salt

  • 8 oz (2 sticks) butter, cut into 1/2-inch pieces and chilled

  • 5 oz (1/2 cup + 2 tablespoons) lard, cut into 1/2-inch pieces and chilled

  • 2 teaspoons apple cider vinegar

  • 3/4 cup cold water

  • 3 tablespoons cream or milk (or a whole egg beaten with 1 tablespoon water), to glaze

  • 1-2 tablespoons turbinado, demerara or sanding sugar (regular old sugar will work, too)

*Notes: Peaches can release a lot of juice once you sprinkle sugar on them. If your peaches give off a lot of liquid, you’ll need to pour most of it off before baking to avoid a soggy crust and loose filling.

- Cutting your peaches into large slices (about 1 inch) limits the surface area and also helps limit the amount of liquid they give off.

- Lots of recipes say you need to blanch and peel your peaches. I don’t recommend it. I think it’s fussy and also makes the peaches feel a little slimy. Plus leaving the peels on gives your filling beautiful blush tones.

peach-raspberry pie on millys-kitchen.com

Prepare the crust according to this recipe.

When you are ready to bake the pie, arrange a rack in the middle of the oven and preheat it to 425°F.  

Cut the peaches into slices about 1-inch thick and place them in a large mixing bowl. Gently toss with the lemon juice and ½ cup of the sugar. Set aside to rest for 20-30 minutes. Pour off the juice from the peaches discarding all of it except for ½ cup. Toss the peaches (and ½ cup juice) with two tablespoons of the cornstarch, the ginger and a pinch of salt. 

Place the raspberries in a medium mixing bowl and toss with the remaining 1 ½ teaspoons of the cornstarch and 1 tablespoon of sugar. 

To fill the pie crust, pour half of the peach slices onto your well-chilled or frozen bottom crust. Arrange half of the raspberries over the peaches. Top with the rest of the peach slices and then the rest of the raspberries. Cover your fruit with your top crust. (Here’s a great tutorial on how to weave a lattice-top crust if you want to go that route.) Trim the edges to overhang by 1/2 inch. Fold the top edges of the lattice inside the bottom crust. Place the filled and topped pie back in the freezer to chill for 15-20 minutes. 

I know, I know. There’s a lot of chilling and freezing and waiting around. But taking the time to par-freeze your pie will keep the crust from slumping in the oven and make sure that lattice turns out gorgeously. :)

peach-raspberry pie on millys-kitchen.com

Brush the top crust with cream, milk or egg wash and then sprinkle with the turbinado, demerara or sanding sugar. Place the pie on a sheet pan and bake until the crust is lightly browned, about 30 minutes. Reduce the oven temperature to 350°F and continue baking until the crust is dark golden brown, about 45-60 minutes longer. I like my crust deeply caramelized; if you like yours less dark, feel free to take your pie out earlier.

Remove the pie from the oven and allow it to cool a bit and firm up before slicing. Leftovers keep best covered at room temperature overnight. If you need to keep your pie for more than a day, cover tightly and store in the fridge.
 
Makes 6-8 servings.

P.S. Try to save at least one piece for breakfast the next day. Coffee + pie = breakfast perfection!

peach-raspberry pie on millys-kitchen.com