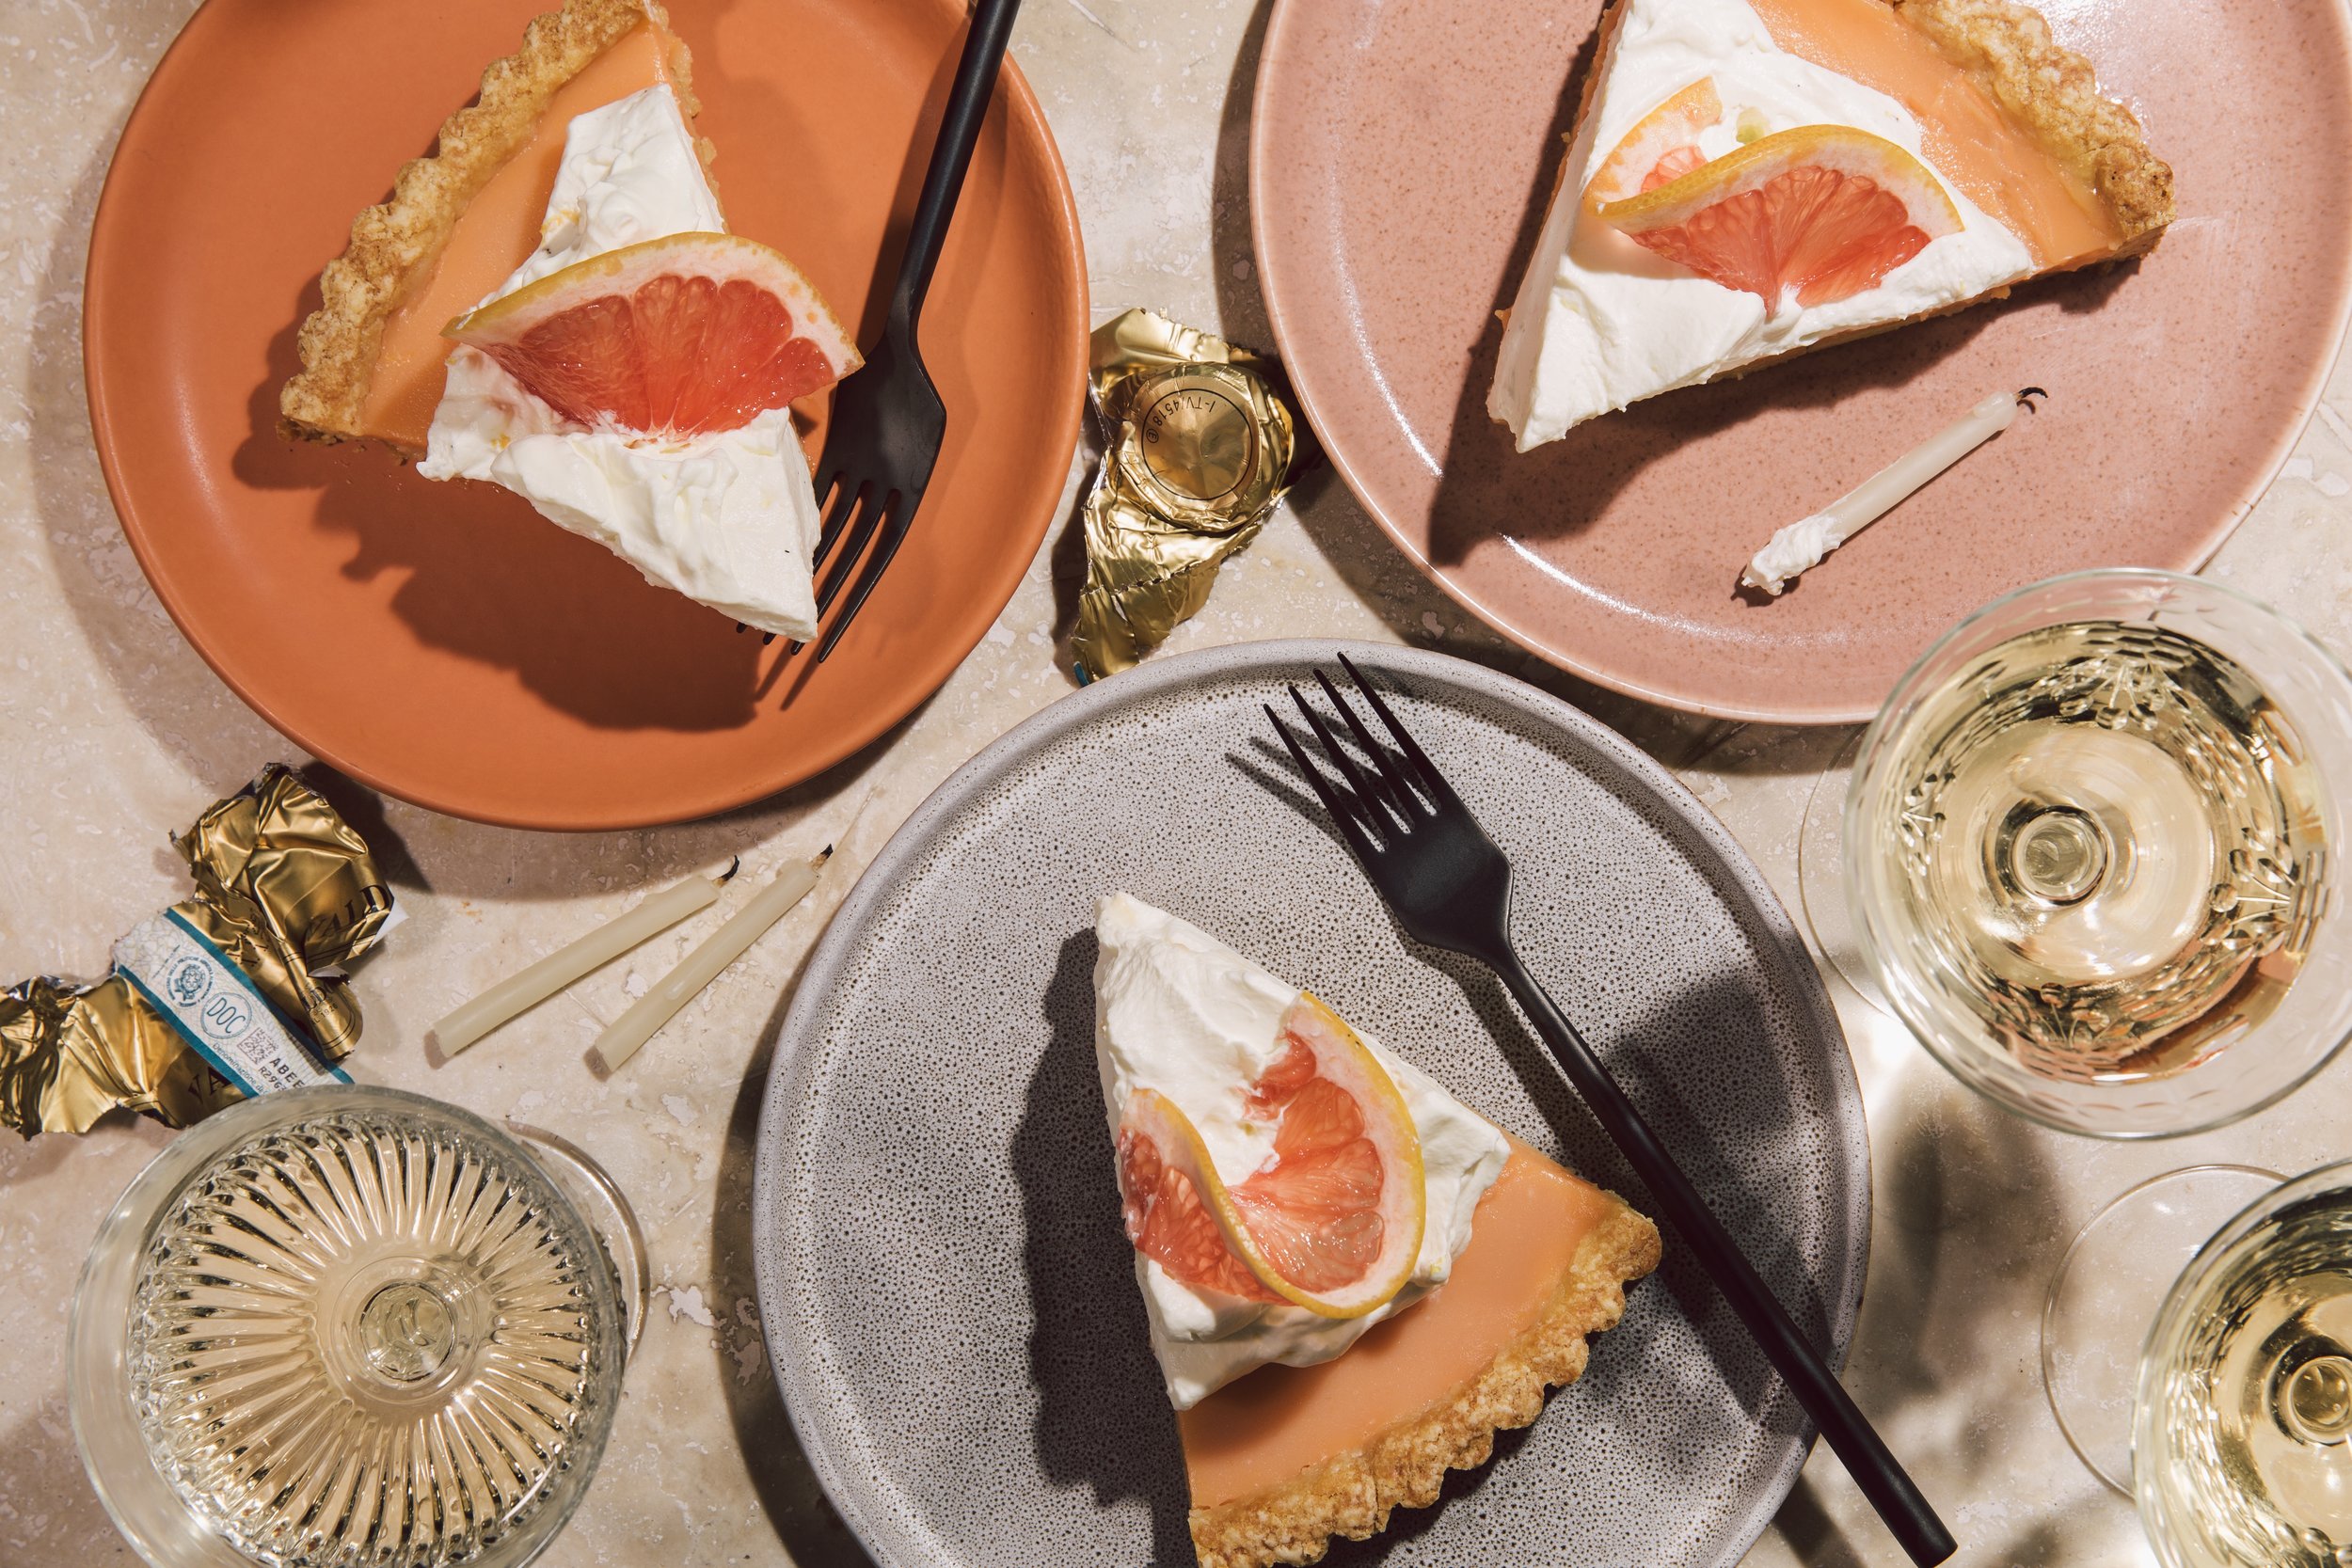

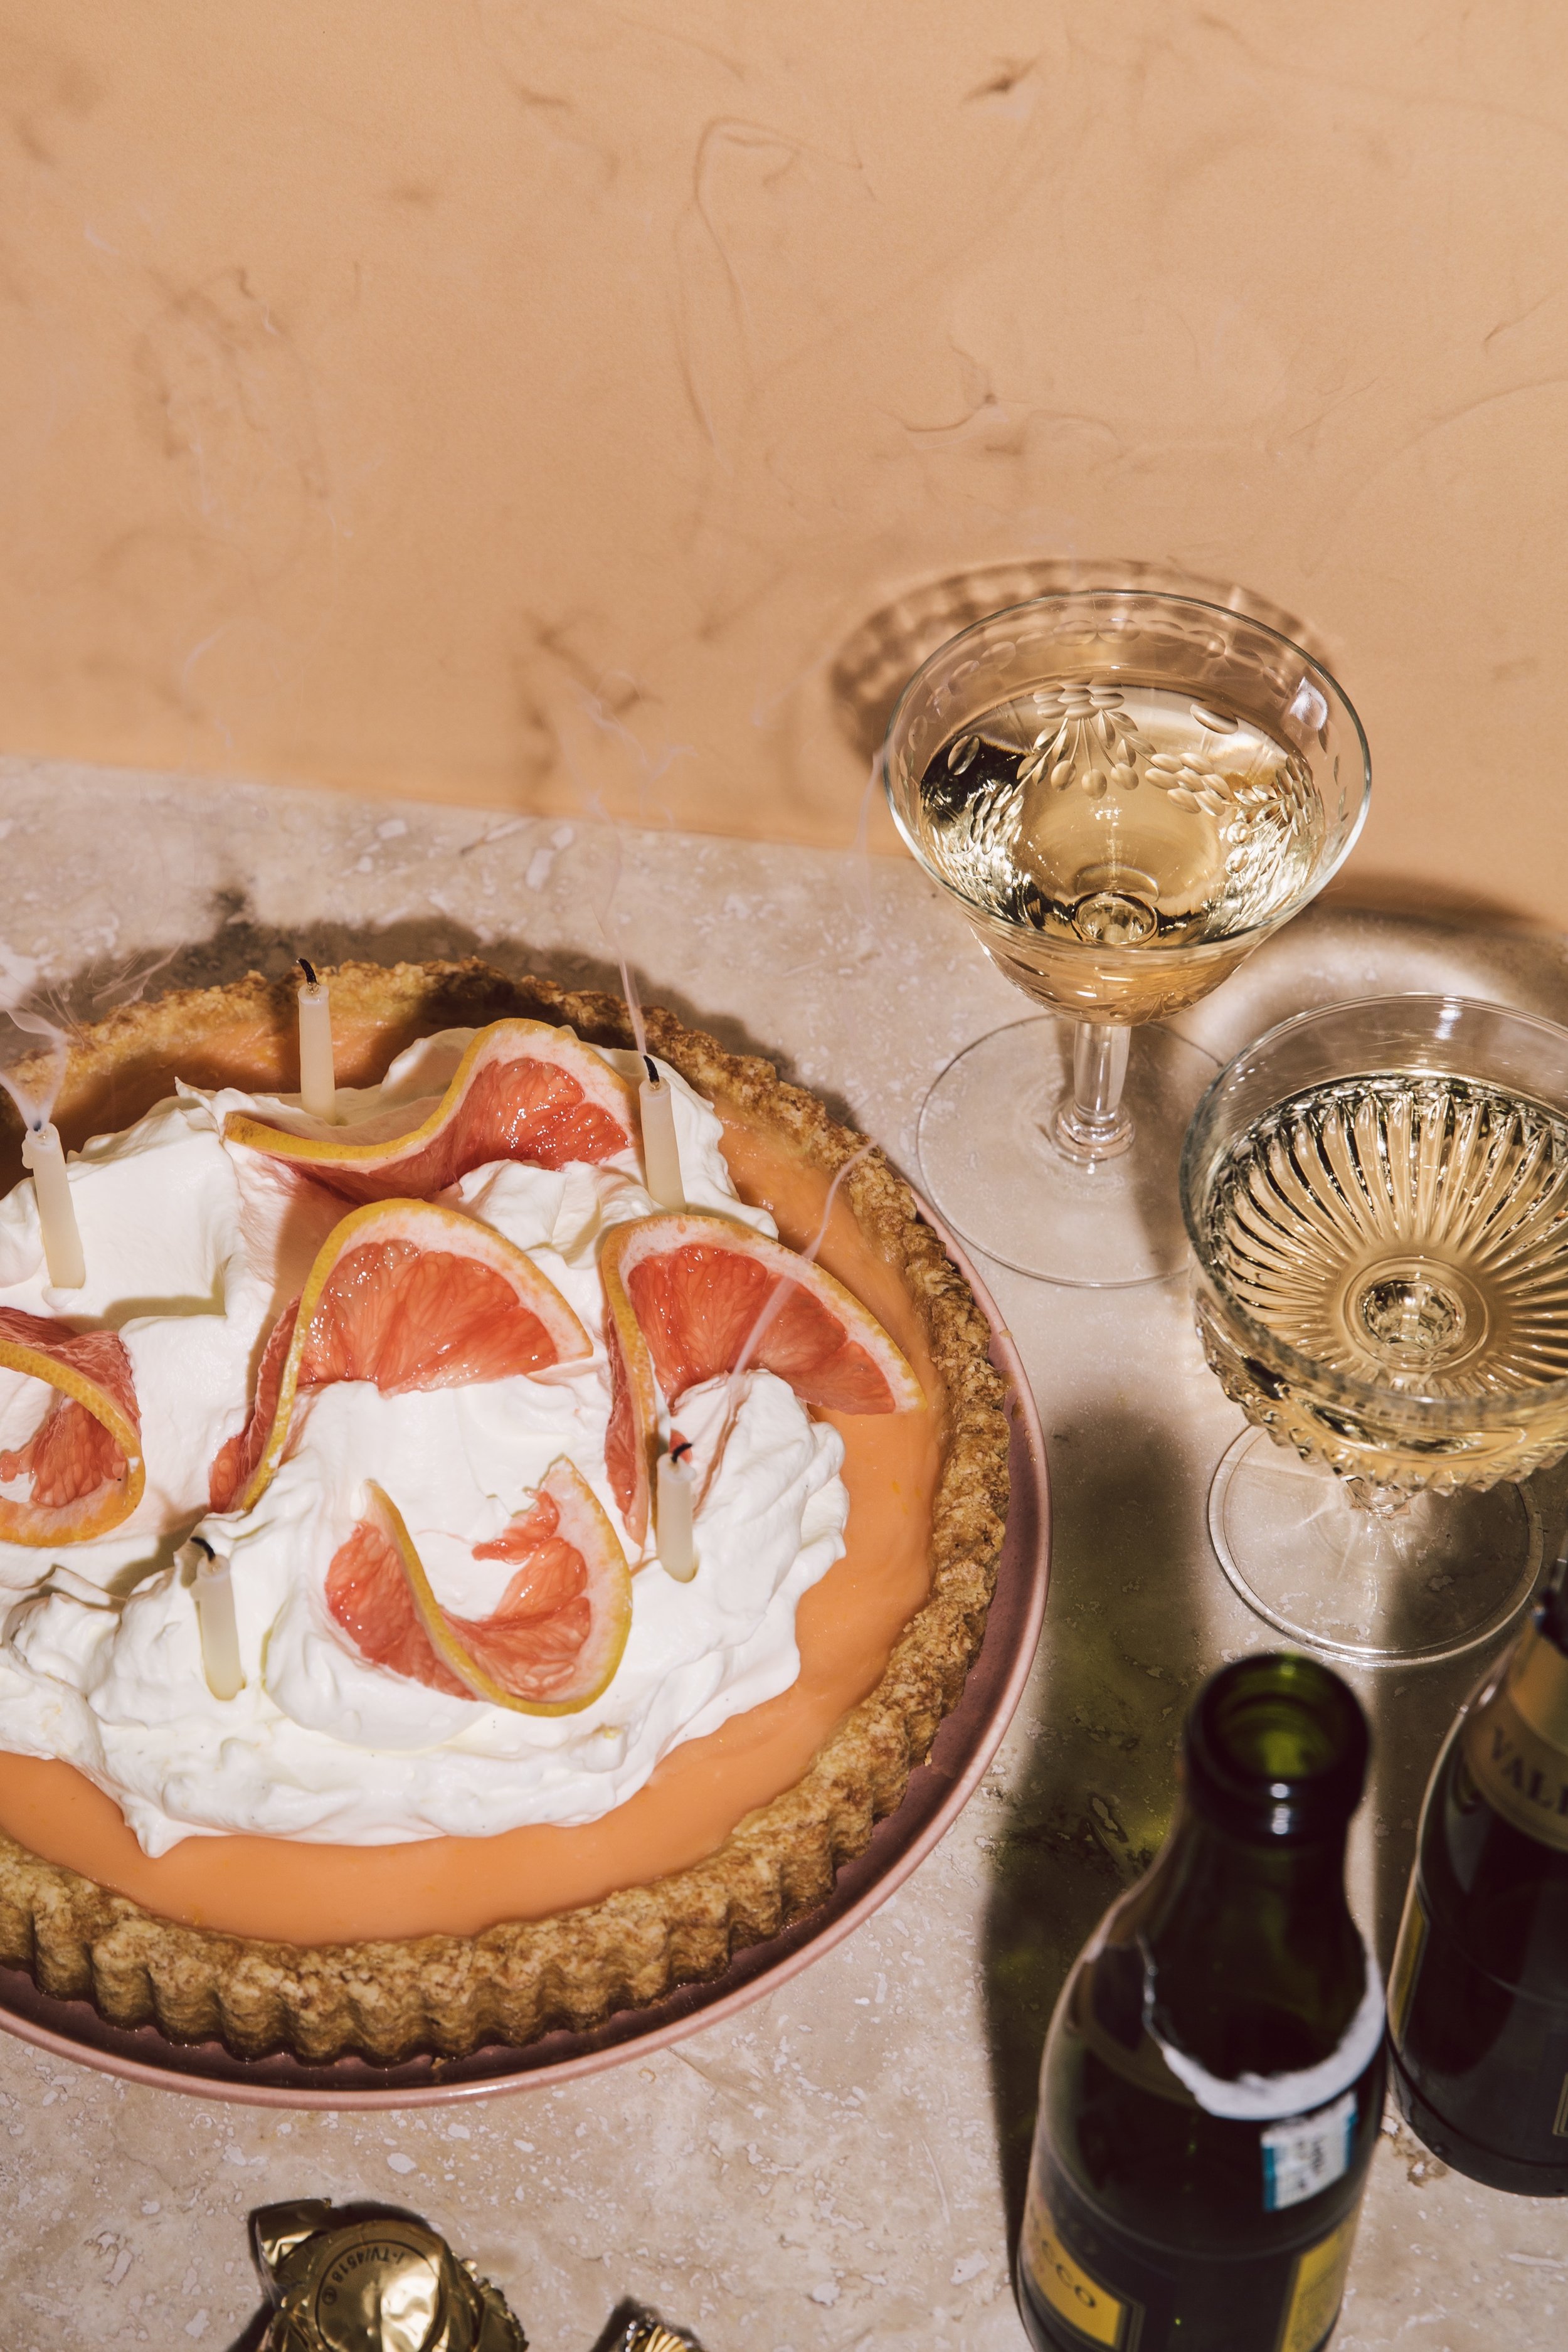
I had a birthday over the holidays. In honor of which I made myself this grapefruit curd tart. Because grapefruit is one of my favorite flavors. And because grapefruit goes really well with champagne. And because I love champagne.
Some people might think a person shouldn’t have to bake her own birthday dessert. I have to disagree.
We live in an age of endless to-do lists. Tsunamis of work obligations. The creeping suspicion (developed after too many hours on Instagram) that our ass is too big. Or too small. Or not clad in the right brand of aggressively tight workout gear. Or too often glued to our couch as we binge-watch Netflix.

Which is why we need a day set aside to remember that everything about us is OK. Beautiful even. Regardless of how few items we’ve checked off our productivity app. Or how our boss feels about our TPS reports. Or the size of our backside.
And what better occasion to proclaim “fuck it” to all the obligations of adulthood and spend the day doing exactly what you want than your birthday???
Yes, it is impractical. Yes, you might feel like you don’t deserve it. Yes, it might even feel a little sinful. And yes, it will be 100% WORTH IT.
To help you fully celebrate yourself, I’ve put together a list of the 10 Birthday Commandments. As someone with a Christmas birthday who still manages to make the day her own, I consider myself something of an expert. Consider this your modern self-care manifesto.

The 10 Birthday Commandments
Sleep in. Ask your partner to get the kids ready for school. Tell your roommates to wake you under absolutely no circumstances. Because you need plenty of delicious sleep to wake up feeling like the goddess that you are.
Skip work. Yes, I mean it. Take a personal day. Call in sick. Bribe your boss with cronuts for a month. I don’t care. Do whatever it takes to get the whole day to yourself. Remember: work is highly detrimental to the art of celebrating yourself.
Start the day out by eating your favorite things. Chicken and waffles? Pancakes? Leftover pizza? Birthday cake? Yup. Kick that diet mindset to the curb. Nothing is verboten on your b-day. To make your birthday morning extra delightful, make sure you have what you need for said breakfast on hand. Hangry is no way to start the day.
Wear your favorite outfit. Feel like zipping into a skin-tight dress and super high heels that make you feel sexy AF? Do it. Prefer to spend the day in your softest tights and hoodie? It’s all good. Today is a day for living your best life.
Proclaim yourself queen for the day. Seriously. This is a thing we do in my family. When it’s your birthday, you get to choose the food, the music, the pace, the movie. Make sure your friends and fam are on board beforehand though or things could get a little heated.
As Your Royal Highness, you now have permission to fill your day with things you love to do. Get a massage. Take in an art exhibit solo. Hit a spin class to get yourself energized. Have lunch with your best friends at your favorite restaurant. Make it happen!
Buy yourself a present. As nice as it is to receive presents from others, your friends and family are not mind-readers. Only you can buy yourself exactly what you want. Right color. Right size. Right details. Buy yourself something that brings you joy, and feel no guilt.
Let your squad celebrate you. Even if you aren’t used to being the center of attention. Letting your friends and family shower you with love is one of the best parts of having friends and family.
But don’t expect anyone to make your day unforgettable. Don’t get me wrong--a perfectly executed surprise party or a bottle of champagne for two by firelight are pretty special. But unless you are supremely lucky, they aren’t going to happen every single year. Which is why I’m a big fan of taking matters into your own hands. Communication is key. Let those around you know what you want and need on your special day. Then plan some (or all) of the festivities yourself. It’s your day; you get to live it however you like.
Disregard any (or all) of these commandments if they don’t fit your personality. Add your own birthday commandments if you want. The most important thing is that you fill your day with all the things and people you love most. And that you create a moment to celebrate your beautiful, amazing, perfect self.

Grapefruit Curd Tart
- 1/2 recipe pâte sucrée (see below)
- 1 teaspoon unflavored powdered gelatin
- 2 tablespoons cold water
- 160g (3/4 cup + 1 tablespoon) granulated sugar
- 2 whole eggs
- 2 egg yolks
- 160mL (2/3 cup) freshly-squeezed grapefruit juice
- 1 1/2 tablespoons fresh lemon juice
- 1 1/2 teaspoons finely grated grapefruit zest
- Pinch kosher or sea salt
- A few drops red food coloring (optional)
- 70g (5 tablespoons) cold unsalted butter, cut into 5 pieces
- 240mL (1 cup) heavy cream
- 2 tablespoons powdered sugar (optional)
- Few thin slices grapefruit to decorate the tart (optional)
Pâte Sucrée
- 320g (2 1/2 cups) all-purpose flour
- 3 tablespoons granulated sugar
- 3/4 teaspoon kosher or flaky sea salt
- 220g (2 sticks) unsalted butter, cut into 1/2-inch pieces
- 2 large egg yolks, lightly beaten
- 60mL (1/4 cup) ice water, plus more if needed
*Notes: The pâte sucrée can be frozen up to 1 month. Defrost overnight in the refrigerator before proceeding with the recipe.
- The tart shell can be baked a day in advance. Cool it completely in the pan then wrap tightly in plastic wrap until you’re ready to fill it.
- I prefer to top the tart with the whipped cream just before serving. But it can be assembled and topped with the whipped cream up to a day in advance without losing much in terms of texture. If you go this route, be sure to use powdered sugar in the whipped cream as it helps stabilize it. Place the tart on a large plate and invert a large bowl over the top to protect the whipped cream before putting it in the fridge. (This is also how I stored the leftovers.)
- Remove the tart from the fridge 30 minutes before serving.

For the crust: Pulse the flour, sugar and salt in a food processor to combine. Add the butter and process until the mixture resembles coarse meal, about 10 seconds. Add the yolks and pulse to just combine. With the machine running, add the ice water in a slow, steady stream through feed tube until the dough just holds together (no longer than 20 seconds). Check the dough by stopping the machine then pinching some of the dough together in your hand. It should come together into a ball when you squeeze it. Don’t wait for the dough to come together in the machine.
Turn the dough out onto a clean work surface. Gather it together into a ball then divide the dough in half. Shape each half into a 1/2-inch thick disk. Wrap in plastic and refrigerate for at least an hour (and up to 2 days).
Roll out one disk of dough to roughly 1/4-inch thickness. Transfer the dough to an 8-inch shallow, removable-bottom tart pan. Lift and press it into the edges of the pan. Do not stretch the dough into the edges as this will make your crust shrink as it bakes. Trim the edges of the crust. One trick I use is to press the sides down into the flutes of the tart pan to make them a little thicker then the bottom. I use a rolling pin to roll over the top of the tart, trimming off any excess dough. Then I use my fingers to push the sides up just slightly past the top edge of the pan. Use a fork to prick holes evenly over the bottom of the tart (this is called docking). Place the tart pan in the freezer until the dough is frozen solid (15-20 minutes).
When you are ready to bake the tart shell, arrange a rack in the middle of the oven and preheat it to 400°F (205°C). Line the frozen shell with parchment paper and then fill it with pie weights (I use beans. You can also use rice.)
Bake the shell until the edges are starting to brown, about 25 minutes. Carefully remove the parchment and pie weights (they will be very hot), reduce the oven to 375°F (190°C) and continue to bake until the center is golden brown and dry, about 15 minutes more. (Cover the edges with aluminum foil if they are darkening too quickly.) Transfer the tart shell to a wire rack and cool completely in the pan. When you’re ready to fill the cooled tart shell, carefully remove it from the tart pan and place it on a serving plate.
For the curd: Whisk together the gelatin and cold water in a small bowl, and set aside to let the gelatin absorb the water. Set a fine mesh sieve over a medium bowl and set aside.
Place the sugar, eggs, juices, zest and salt in a medium, heavy-bottomed saucepan. Whisk well to combine. Cook over medium-low heat, stirring often, until just warm to the touch. Add 1 piece of the butter and cook, stirring constantly with a heatproof spatula to prevent scorching, until the butter is almost melted. Repeat with the remaining pieces of butter. If using, add food coloring 1 drop at a time, stirring well after each addition, until you reach your desired color.
Cook the mixture, whisking frequently, until it thickens enough to coat the back of a spoon. If you want to use a candy thermometer, cook the curd until it reaches 175° F (79°C).
Once the curd thickens, remove the pan from the heat and pour the curd through the fine mesh strainer into the bowl to remove any bits of cooked egg. Microwave the small bowl of gelatin for 10 seconds, until it is liquid. Add the liquefied gelatin to the bowl of grapefruit curd and whisk well.
Pour the curd into the baked and cooled tart shell and transfer it to the refrigerator. Chill until the curd is set, at least an hour.
To serve: Place the cream and powdered sugar (if using) in a stand mixer fitted with the whisk attachment. Beat at medium-high speed until firm peaks form. Take care not to overwhip the cream. Mound the whipped cream in the middle of the chilled tart and spread with the back of a spoon to make decorative swoops. Arrange the grapefruit slices over the whipped cream and serve.
Makes 1 8-inch tart
Pâte Sucrée recipe from Martha Stewart’s Cooking School. Curd recipe adapted from SugarHero!