vegetarian

almond-oat berry bars

almond oat berry bars. Image/styling: Olaiya Land

Around this time of year, I usually get a bad case of end-of-summer FOMO. As the days grow shorter and the nights cooler, I feel an overwhelming urge to cram in as many summer-only activities as I can manage. A picnic at the shore. A trip to the fair. Just a few more melty popsicles.

More camping.

More swims.

More pie.

But this year, something’s different. I head to Paris in just over a week; when I get back, summer will be long gone. I keep waiting for the panic to set in, but it has yet to make an appearance.

almond oat berry bars. Image/styling: Olaiya Land

I have a hopeful theory as to why this might be; this year, I haven’t been pushing myself like a crazy person. I’ve realized that my body usually knows what I need--all I have to do is listen. (Which is of course much harder than it sounds, especially when your head is swimming with tons of “shoulds” and “ought tos” and other annoying thoughts.) 

This summer, I’ve managed to stay tuned in to what my intuition and my body are telling me. If my body says it wants pancakes for breakfast, we have pancakes. If it says it isn’t hungry, we wait to eat until it is. If it says it’s tired of sitting at the computer and wants to take a walk in the middle of the day, we lace up our shoes and head out the door. If it says take a nap, we snuggle up on the couch. (Mostly. Naps still aren’t my fave.)

almond oat berry bars. Image/styling: Olaiya Land

I still struggle with not going to bed when I’m tired. And zoning out on Instagram when I’m bored. And eating chocolate when I know I’m not hungry. But I’ve been amazed at how much better I feel when I listen to my body and trust my intuition. 

When I was first experimenting with listening more closely to what my inner compass had to tell me, I was afraid I’d never want to do work again and slide down into a black hole of sloth. The opposite has been true. When I tune into what I really want and need, whether it be a nap or a new pair of shoes, I have more energy and enthusiasm for work. Some days I spend most of my time doing things I find fun and energizing: shooting with my camera, walking, knitting, cooking for pleasure, reading. Then when my tank is full, I usually feel like getting some work done. The part I’ve been most astonished by is that when I engage from a full tank, I can turn out better quality work in a fraction of the time--and not feel drained by it. For someone who has always been more stick than carrot with herself, this feels like an absolute miracle.

almond oat berry bars. Image/styling: Olaiya Land

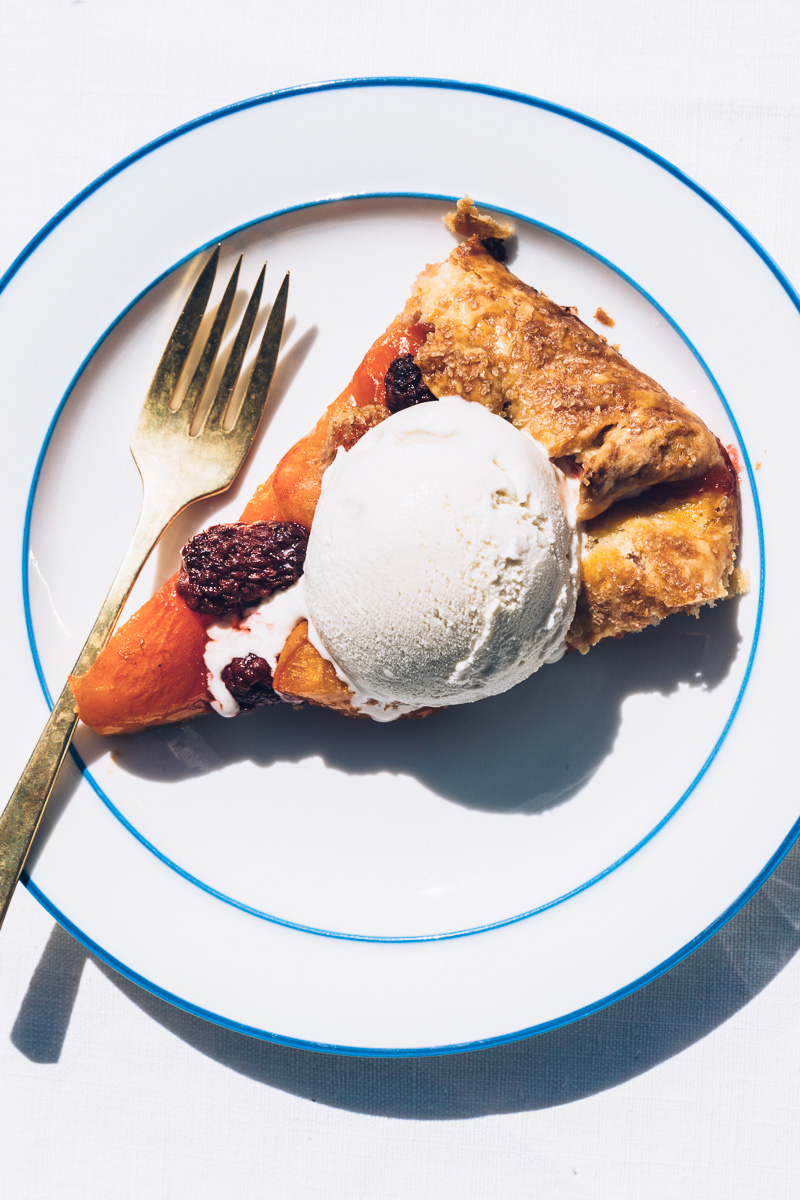
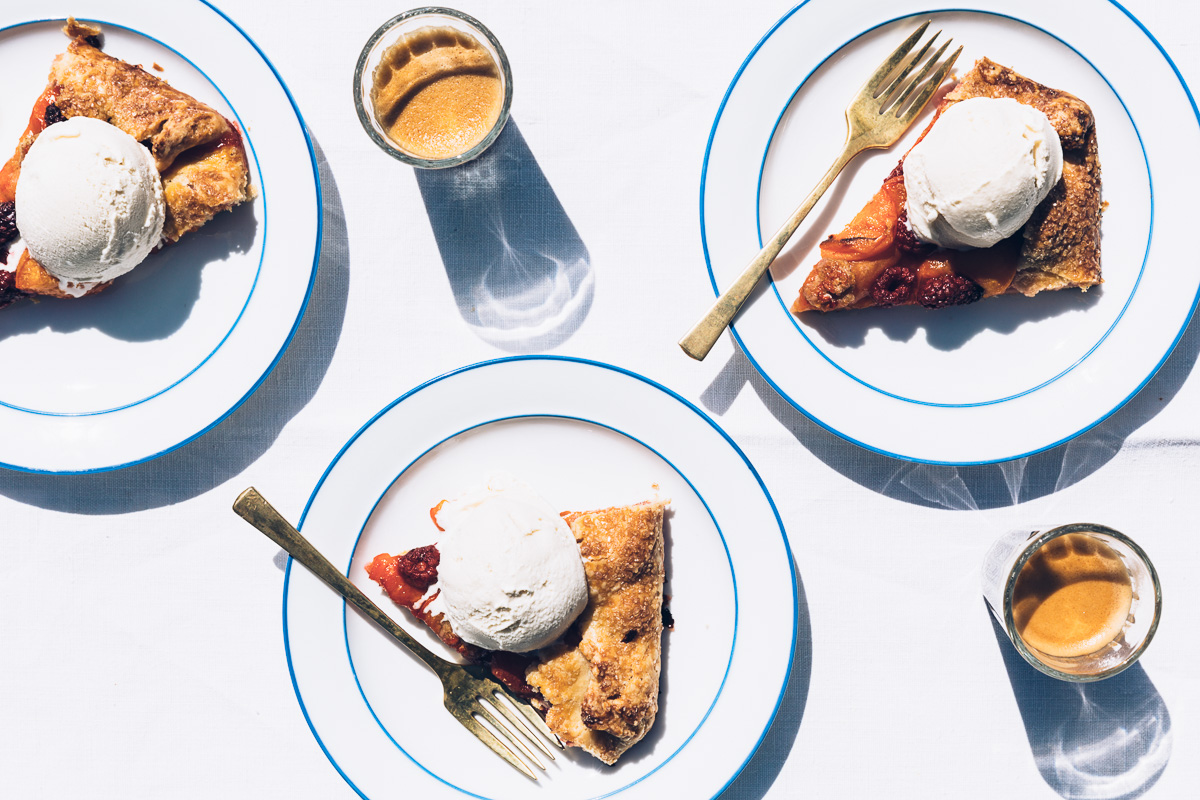
I think all the pleasures--large and small--I’ve managed to fit into my summer have chased the FOMO away. If summer ended tomorrow, I wouldn’t feel cheated. That said, in the time I have left before I take off for France, I intend to relish all the summer treasures that come my way--including more sweet summer berries from the farmers market. 

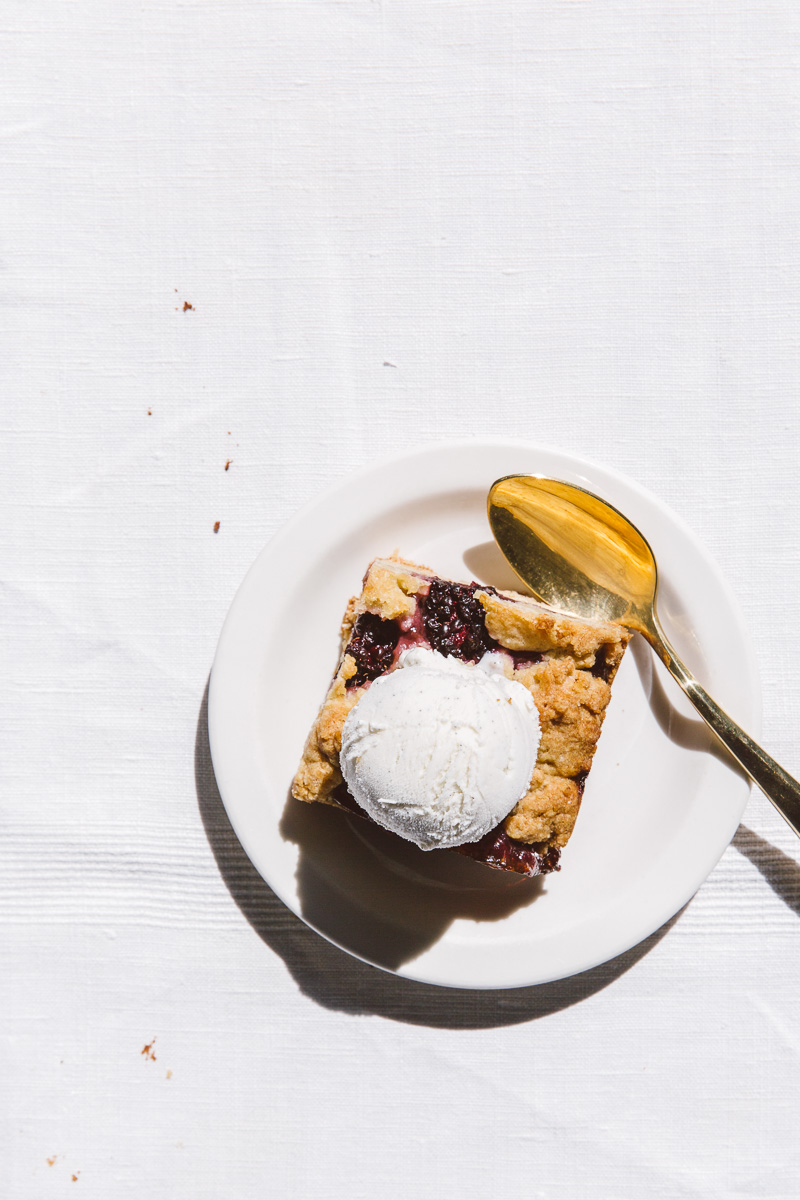
These jammy bars are about as simple as summer baking gets and a delicious way to work a few more juicy berries into your life before we head into fall. I hope you’re soaking up all the goodness the season brings, with lots of sunshine and very little FOMO.

xo,
Olaiya


Almond-Oat Berry Bars

  • 8 oz. (2 sticks) butter, softened, plus more for the pan
  • 9 ½ oz. (2 cups) all-purpose flour
  • ¼ cup granulated sugar
  • ½ cup light brown sugar
  • ¾ cup rolled oats
  • ¼ cup sliced or slivered almonds
  • ½ teaspoon kosher salt
  • ½ teaspoon ground ginger
  • 1 egg, lightly beaten
  • 1 cup raspberry preserves
  • 1 cup mixed berries (I used raspberries and blackberries)
  • Vanilla ice cream, to serve (optional)

*Note: baking these in an 8- or 9-inch pan yields a fairly thick, cake-like bar. If you want a thinner, crisper bar, bake them in a larger pan.

almond oat berry bars. Styling/Image: Olaiya Land
almond oat berry bars. Image/styling: Olaiya Land

Preheat the oven to 350°F with a rack in the middle. Butter an 8- or 9-inch square baking pan.

Combine the flour, sugars, oats, almonds, salt and ginger in the bowl of a food processor. Pulse just to combine. Add in the butter and pulse to combine. Add the egg and pulse until the mixture resembles coarse crumbs, scraping down the bowl as needed. Set aside 1 ½ cups of the crumble mixture.

Press the remaining mixture into the bottom the prepared pan. Spread the berry preserves over the mixture, leaving 1/2-inch border. Press the berries into the preserves then crumble the reserved 1 ½ cups mixture over the preserves. Bake until lightly browned, 40 to 50 minutes. Cool slightly before cutting into bars.

Take your berry bars to the next level by serving them warm with a scoop of vanilla ice cream.

Makes 12 servings.

Recipe adapted from Anne Thornton

apricot triple berry galette

Image: Olaiya Land

Seattle has bestowed an improbably beautiful June upon us. Normally, it rains right up to (and often through) the Fourth of July. But this year, the days have been bright and warm and the nights perfect for sleeping. My street is fragrant with jasmine and roses bending under the weight of their blooms. The tomato plants in my neighbors' gardens are growing like jungle vines.

The days are magnificently long, too. (I’m writing this at 9.16pm and the sun is only just starting to set). Which means Beau and I have been fixing simple dinners--whatever vegetables we have, thrown on the grill along with a few sausages or maybe a pork chop, and a bottle of rosé--and eating most of our meals outside. This is my idea of summer perfection.

Image: Olaiya Land

Baking has felt decidedly unappealing--all that time and mess and heating up the house when I could be spending time outdoors. But last week at the farmers market, I spied a pile of the season’s first tiny apricots. They were so cute with their downy, blushing cheeks--I couldn’t not buy them. I loaded up my basket and told myself I’d figure out what to do with them later.

Naturally, I let them sit on my counter, until they teetered on the very edge of being usable.

Image: Olaiya Land
Image: Olaiya Land

Then I decided to suck it up and turn on the oven. It was time for a galette. 
 
With their tart, fruit filling and buttery crust, galettes are one of my favorite pastries. Their free-form nature makes them relatively easy to throw together on the fly (and thus perfectly in line with my no-fuss summer cooking policy), especially when made with this super easy galette dough.

Image: Olaiya Land
Image: Olaiya Land
Image: Olaiya Land

After I pulled this beauty out of the oven, all caramelized and bubbling, Beau and I cut ourselves thick slices, topped them with vanilla ice cream and took them outside to eat in the afternoon sun. I didn’t regret turning on the oven or dirtying a few dishes for one second.


Image: Olaiya Land

Apricot Triple Berry Galette

  • ½ recipe Galette Dough
  • 1 lb ripe apricots, pitted and halved if small, quartered if larger
  • 1 ½ cups mixed berries (I used raspberries, golden raspberries and tayberries)
  • 3-5 tablespoons sugar, divided (or to taste)
  • 1 teaspoon cornstarch
  • Salt
  • 1 egg
  • Coarse sugar, such as Turbinado, Demerara or sanding sugar (regular old sugar will work, too)
  • Vanilla ice cream, creme fraiche or sweetened whipped cream, to serve

Preheat the oven to 400°. Line a large rimmed baking sheet with parchment paper. On a lightly floured work surface, roll out the disk of dough to roughly 1/4-inch thickness. Transfer to the baking sheet (the pastry will likely hang over the edges a little bit). Refrigerate the for 10 minutes.
 
While the dough is in the fridge, place the apricots in a large bowl and place the berries in a medium bowl. Add 3 tablespoons of sugar, the cornstarch and a tiny pinch of salt to the apricots. Toss, then taste and add more sugar if your apricots are a bit tart. Add 1 tablespoon of sugar and a tiny pinch of salt to the berries. Toss, taste and add more sugar if your berries need it.
 
Spread the apricots on the pastry to within 2 inches of the edge. Arrange the berries over the apricots. Fold the edge over the filling, pleating as you go. In a small bowl, whisk the egg with a tablespoon of cold water and brush it over the dough then sprinkle with the sugar. (For an extra pretty galette, place it in the fridge or freezer for 15-20 minutes before baking--this keeps it from slumping in the oven.) 
 
Bake in the center of the oven for 50-60 minutes, until golden brown and bubbling. Let the galette cool slightly before cutting into wedges and serving with ice cream, creme fraiche or sweetened whipped cream.
 
Serves 6-8.

Image: Olaiya Land

Galette Dough
13 ¾ oz (3 cups) all-purpose flour
2 tablespoons sugar
1 ¾ teaspoons kosher salt
9 oz (1 cup plus 2 tablespoons  or 2 ¼ sticks) chilled unsalted butter, cut into ½ inch cubes
8 tablespoons (or more) ice water
1 ½ teaspoons apple cider vinegar
 
*Note: This is a tender (as opposed to flaky) dough because it's made in the food processor. It's the most failsafe, forgiving dough I've ever encountered (it's been my go-to for over a decade) and a great place to start if you're nervous at all about working with dough. If you don't have a food processor, you can substitute my pie dough, or use the method described in my pie recipe to rub the butter into the dry ingredients. This will yield a flakier, but equally delicious galette dough.

- This dough can be refrigerated for up to 2 days, or placed in a ziploc bag and frozen for up to 2 months. If frozen, thaw the dough in the refrigerator overnight and soften slightly at room temperature before rolling out.

Image: Olaiya Land

Blend the flour, sugar and salt in a food processor to combine. Add the butter, one piece at a time, using on/off turns. Process until the dough looks like sand with some pebbles in it. Drizzle in the cider vinegar while pulsing the dough. Then add the 8 tablespoons of ice water and blend until moist clumps form. 
 
The mixture should be moist enough to form a dough when you pinch it together. If you have used 8 tablespoons of water and the dough seems dry, give it a few more pulses in the food processor and then pinch off a golf ball sized piece. Squeeze it and see if it wants to come together into a dough. If it’s too crumbly and won’t form a dough, blend in a bit more water, a teaspoon at a time, until the mixture forms a dough when you pinch it together.
 
Turn out the dough onto a large work surface and gather it together into a ball. Do not knead it as this will toughen the dough. Divide it in half with a bench scraper or knife. Form each half into a ball and then flatten each ball into a disk about ¾-inch thick. Wrap each disk in plastic wrap and chill for at least an hour before rolling. (Ok, to be honest, this dough is so forgiving, I’ve rolled it out without chilling it. But that’s only for emergencies. You’ll get a much nicer galette if you chill the dough!)
 
Makes 2 dough disks (enough for 2 galettes).

tomato, feta and dill salad

Image: Olaiya Land

Hello lovely people!
 
I hope your summer is off to a fantastic start. Things are feeling very summery around here. We’re having a Seattle heatwave (temps above 80°!) and people are hunkered down with their freshly-purchased air conditioners, freezers stocked full of ice cream and cases of rosé. (Ok, maybe that’s just us.) 
 
Last night we had friends over for a casual backyard barbecue. In line with my no-stress dinner party policy, I just threw a bunch of vegetables and sausages on the grill, opened a few bottles of wine and tossed together this easy-peasy 4-ingredient tomato salad.
 
I hope you won’t think me bossy if I say you should, too. 

Tomato feta and dill salad_June 2017-7.jpg

I first had this deceptively simple salad at one of my favorite restaurants in Paris. I was a bit underwhelmed when it was placed in front of me. It didn’t look like much after all the flaky, buttery excesses of the culinary tour I’d just led.
 
But as I took my first bite, I understood that the chef had done that very French thing that young chefs are doing all over Paris. He had taken a few simple ingredients, combined them in an unconventional manner and let their utter perfection do the talking. 
 
This salad was so far greater than the sum of its parts. It was refreshing, earthy, salty, creamy and faintly sweet all at the same time. It tasted like summer. 

Image: Olaiya Land

I knew instantly this comes-together-in-five-minutes-and-goes-with-everything salad would be the new workhorse of my summer suppers. And so far it has been. I’ve had it with Lebanese spiced chicken and cucumber-yogurt salad. With spicy grilled shrimp. With a soft boiled egg and a slice of toast. All within the last two weeks! 
 
So, friends, track down the very best ingredients you can find and give this refreshing little tomato salad a go--your summer will thank you!

Image: Olaiya Land
Image: Olaiya Land

Tomato, Feta and Dill Salad

  • 1 pint ripe cherry or other small tomatoes
  • Feta cheese, (preferably a creamy, not-too-salty variety)
  • Extra-virgin olive oil
  • Fresh dill
  • Flaky sea salt
Image: Olaiya Land

*Notes: Today I’m giving you a non-recipe sort of recipe. There’s not really any right or wrong way to combine the ingredients in this dish. If you love dill, sprinkle on a little extra. If olive oil’s your thing, pour it on! The key is simply to track down the best ingredients you can manage. Sweet, perfectly ripe cherry tomatoes. Fresh dill. Creamy, not-too-salty feta (My go-to is Valbreso). And the best olive oil and sea salt you can get your hands on. That’s most of the work done.
 
- For all you dill haters out there, I feel you. Dill was not, until recently, an herb I was particularly fond of. But there’s something magical about the combination of dill and tomatoes that makes it all ok. It’s the dill that provides a faintly sweet and sour complexity to this salad, so I encourage you to try it. But no hard feelings if you’re not into it--you can always substitute another herb such as mint (I love tomato and mint together), fennel fronds, and/or summer savory. A few finely snipped chives would be nice, too.
 
- And just in case your mamma never told you, raw tomatoes never, ever (ever!) go in the fridge. It turns their texture mealy and mutes their subtle sweetness. Store them in a single layer on your countertop or other cool location.


Slice the tomatoes in half and arrange them on a serving platter. Crumble some feta over the top and drizzle with a generous amount of olive oil. Sprinkle some dill fronds and salt over the top just before serving.
 
Makes 3-4 side-dish servings.